Getting Started with EM Starter Kit
Creating Hello World project for ARC EM Starter Kit
Select File >New >C Project
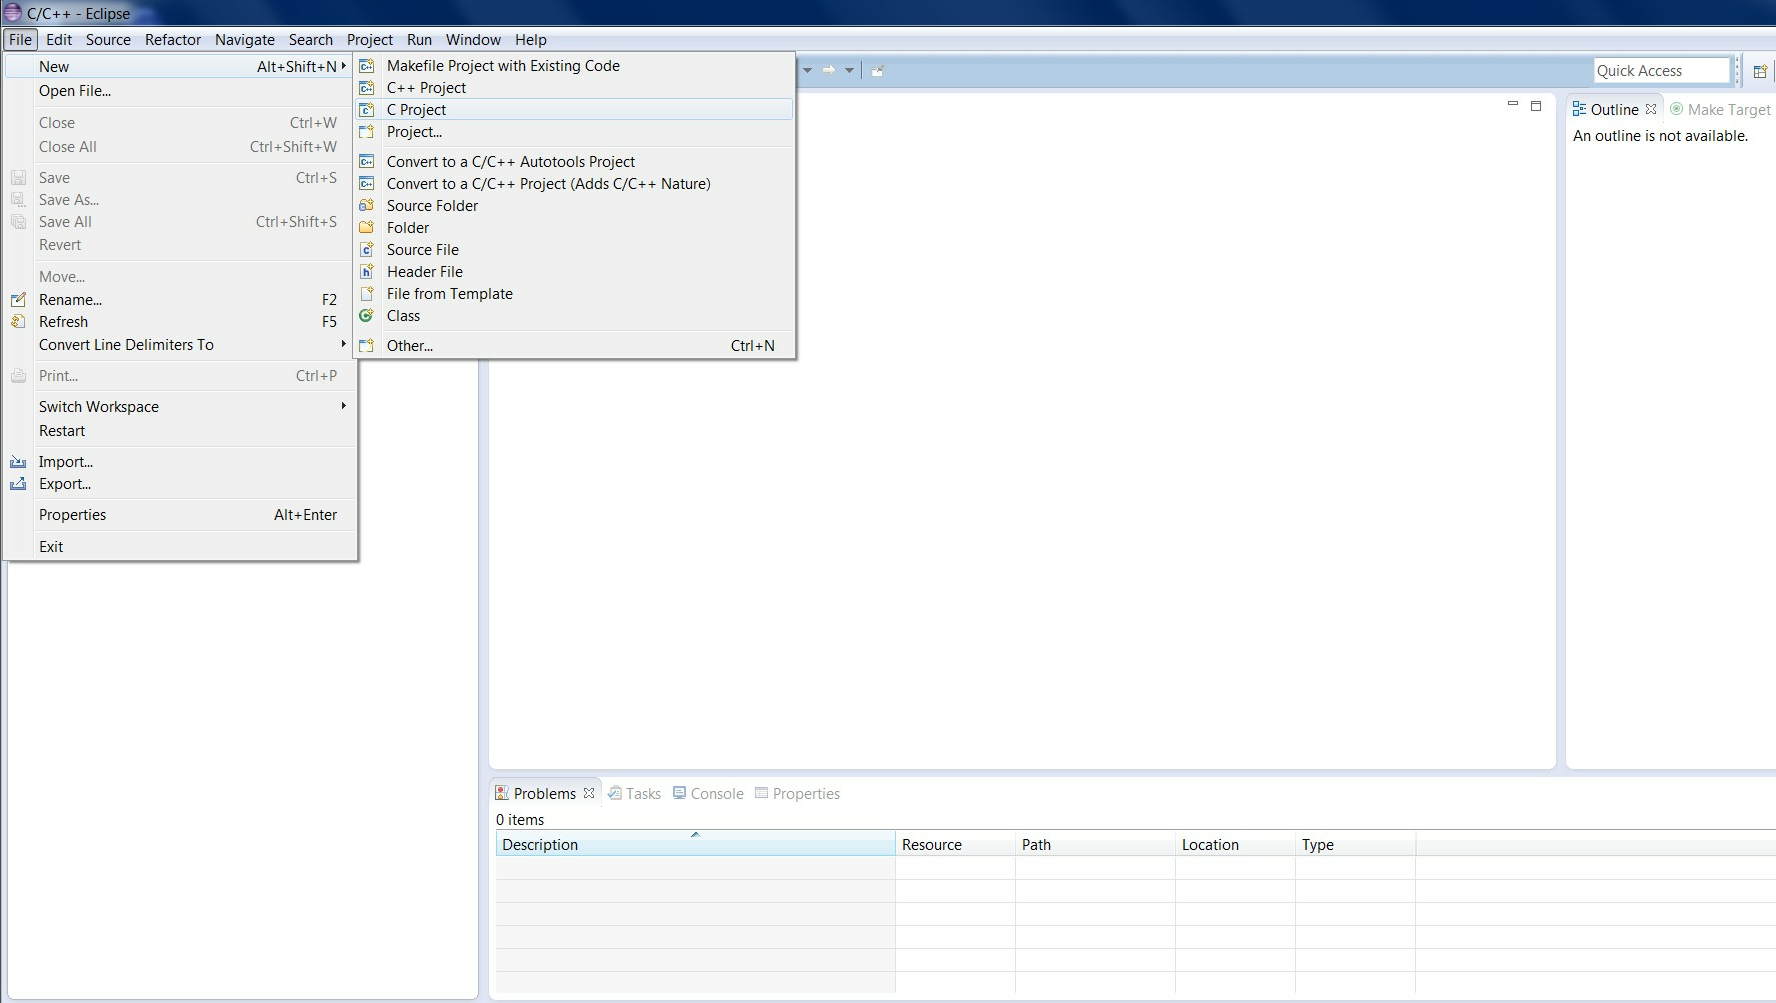
Creating a new C project
The C Project window should have several ARC project types:
ARC Cross ELF32 Target Application, ARC Cross ELF32 Target Static
Library, AXS10x Projects and EM Starter Kit Projects. Select
EM Starter Kit Projects. This project type is available only if ARC EM
toolchain compiler can be found either in PATH environment variable or
in ../bin/ directory relative to Eclipse executable.
Enter a project name
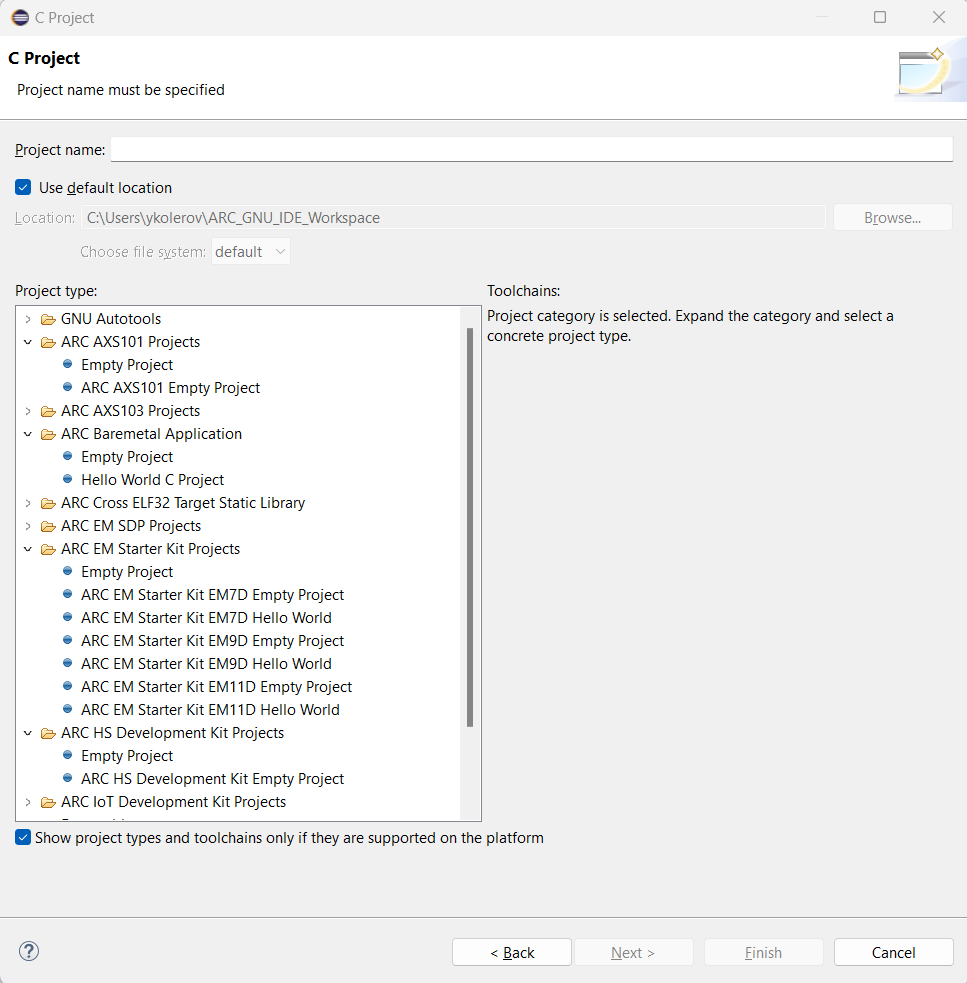
C Project Creation Dialog
Under EM Starter Kit Projects select Hello World for EM SK 2.1 Project (or Hello World for EM SK 1.1 depending on your EM Starter Kit version). This Hello World project is an example project that comes with the EM Starter Kit Software and uses the UART on the EM Starter Kit to display output. To see output printer to UART, connection to serial port should be established. By default Eclipse for ARC will automatically connect to available serial port, but that feature can be disabled and in that case refer to the EM Starter Kit Getting Started for instructions on how to connect to the UART on the EM Starter Kit board using Putty.
Fill in project name and click Finish or Next if you want to fill in additional information.
The resulting Hello World project created in Eclipse is:
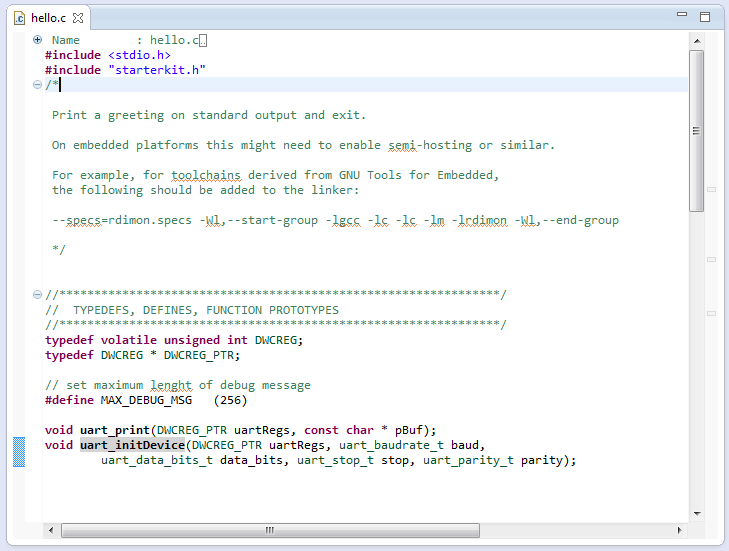
Final Hello World Project in Eclipse
Building the project
Right click on the Hello World project and select Build Project from the pop-up menu
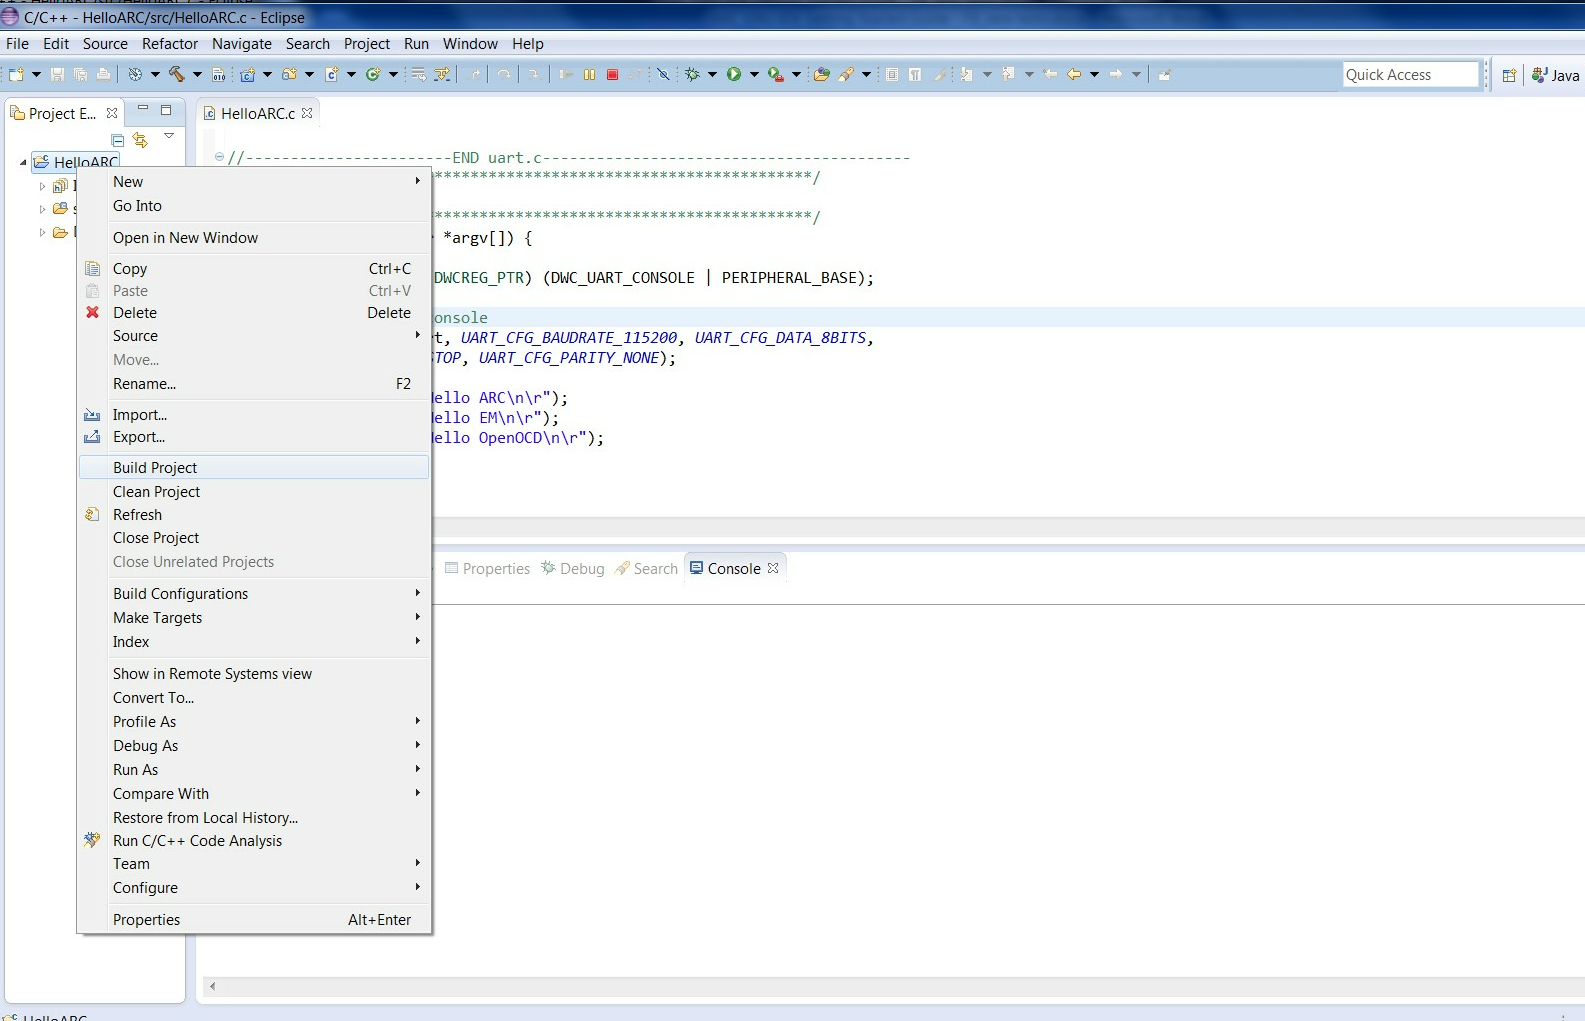
Building a Project
Review the build output log in the Eclipse console tab to confirm success:
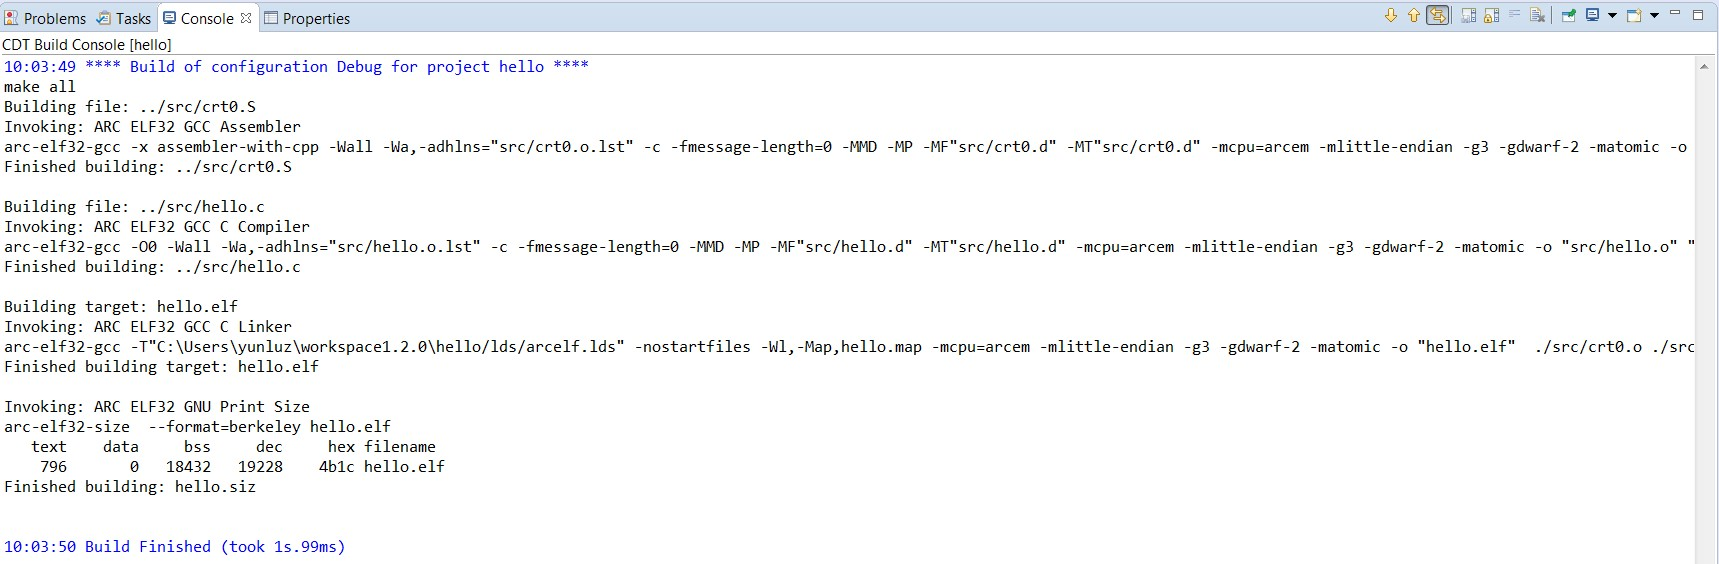
Build Output
Debugging the project
Once the project is successfully compiled by ARC GCC, you can debug the resulting executable on the EM Starter Kit board.
Note
If you are using Windows platform, please configure drivers for your EM Starter Kit before you begin debug process. For the instructions see How to use OpenOCD on Windows.
To debug the project, create a new debug configuration.
Select Debug Configurations from the Run menu or by clicking on the down arrow next to the bug icon:
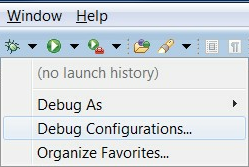
Debug Configurations
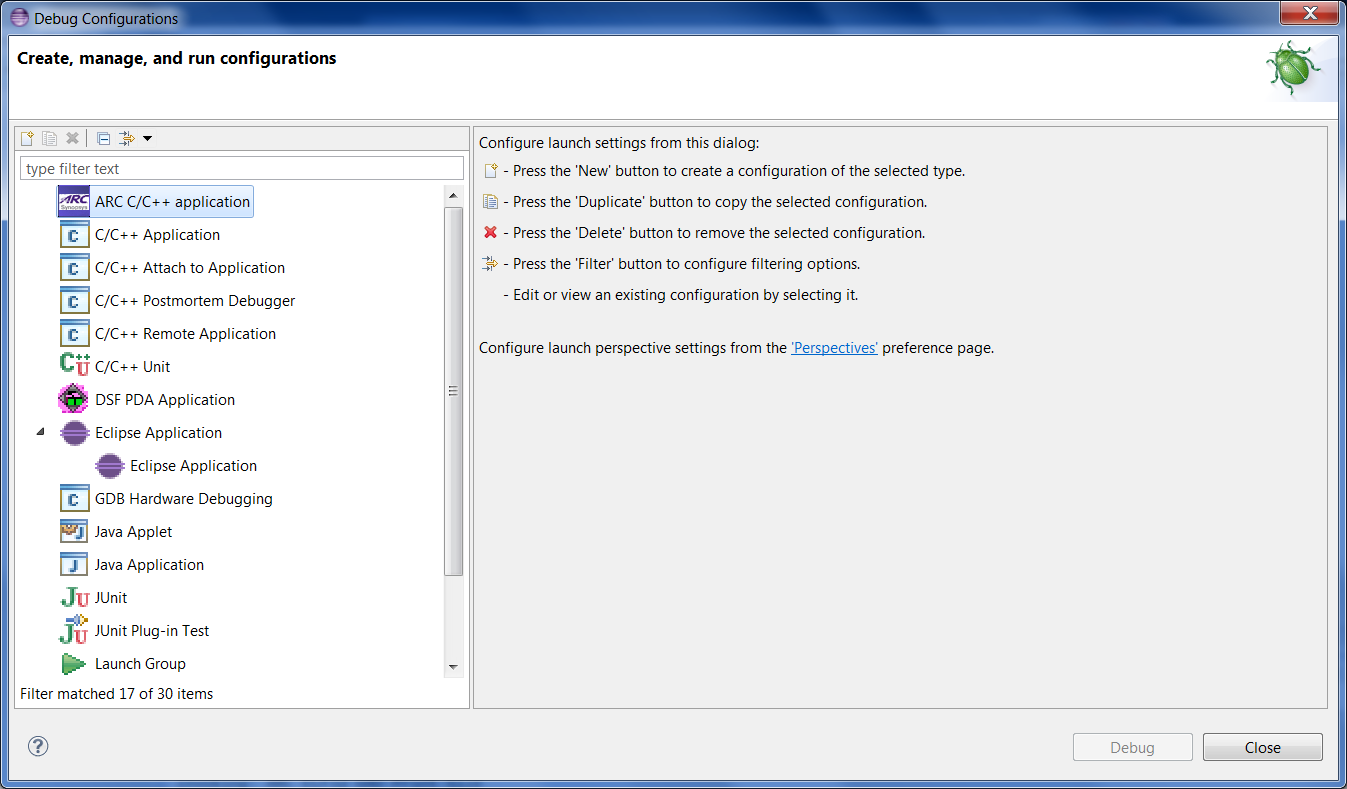
Double click on the ARC C/C++ Application or click on the top left icon to create a new debug configuration for the project:
ARC Embedded Debug Configurations
Select a name for the new debug configuration (by default, it equals the project name followed by “Debug”).
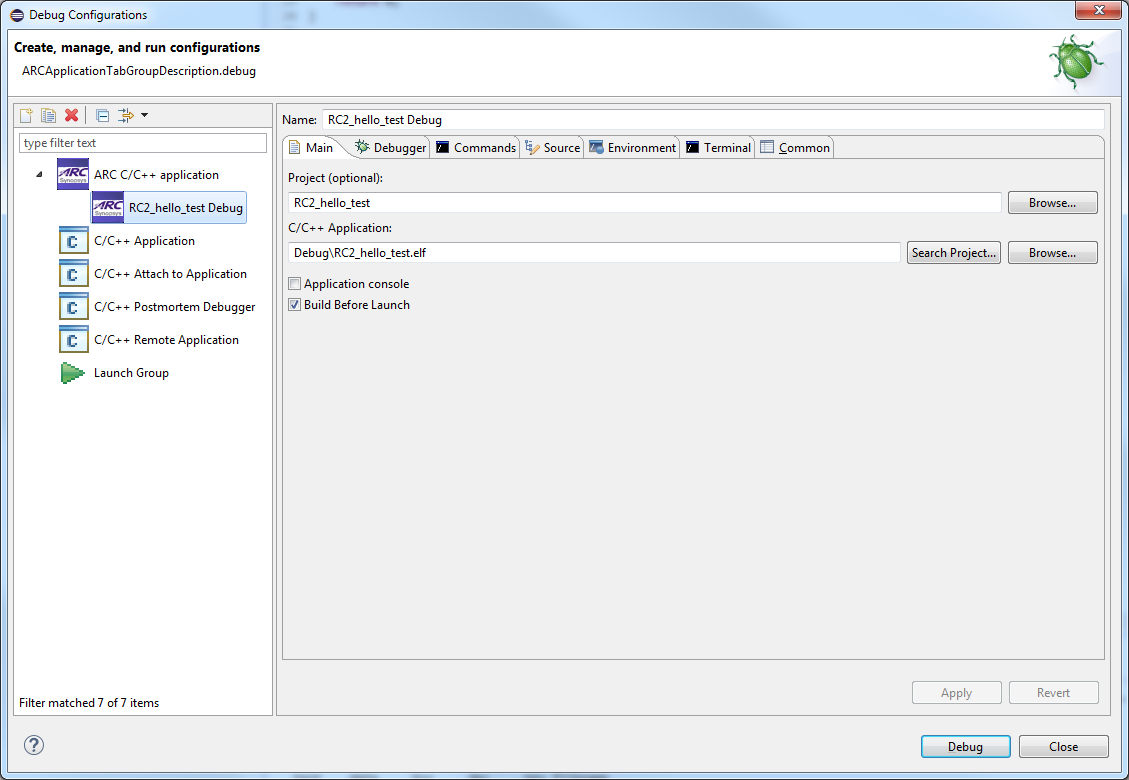
New debug Configuration
Click the Debugger tab and select Gdbserver Settings page.
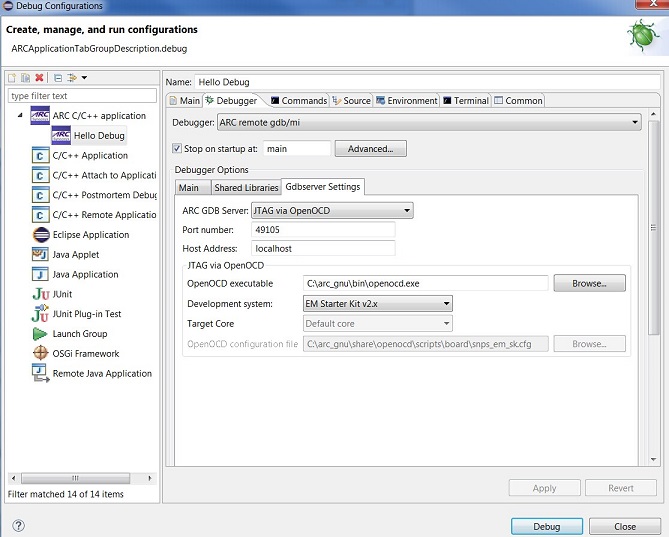
Default values in the Debugger tab for JTAG via OpenOCD
Select EM Starter Kit v2.x or EM Starter Kit v1.x as development system depending on your EM Starter Kit version.
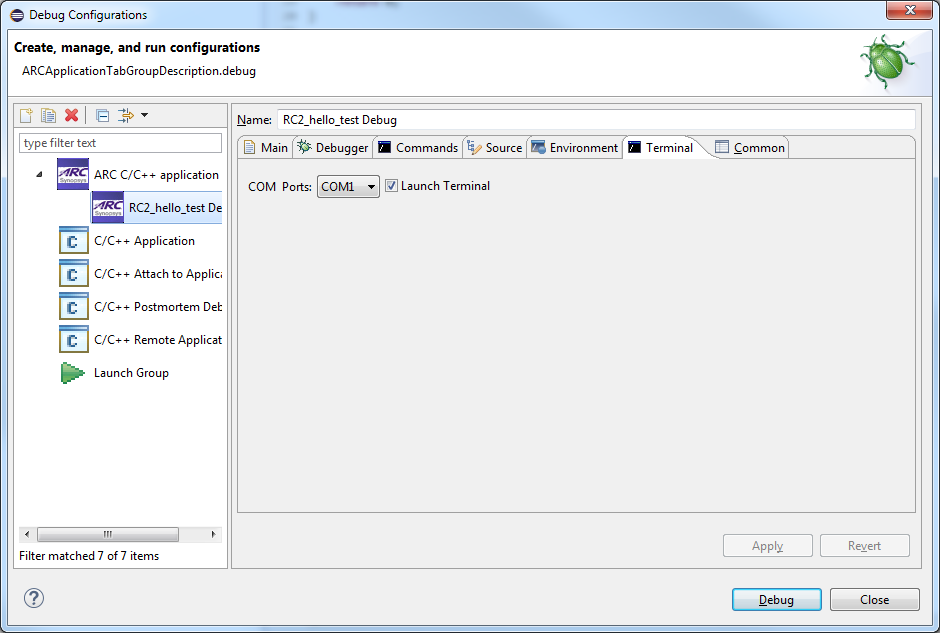
Open Terminal tab and select COM Port. For Linux choose /dev/ttyUSB1. For Windows COM Port should match the port number in “Device and Printers” as shown below.
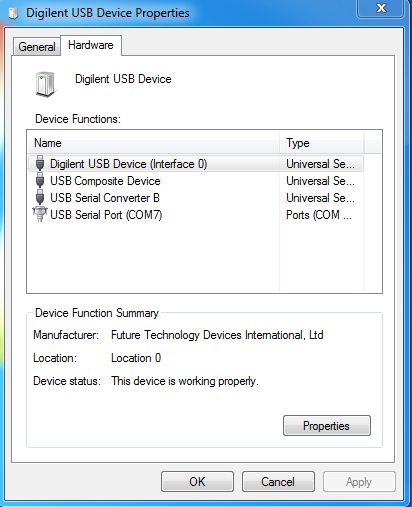
Digilent USB Serial COM Port
USB Serial COM Port
Click the Debug button in the Debug configurations dialog to initiate debug session.
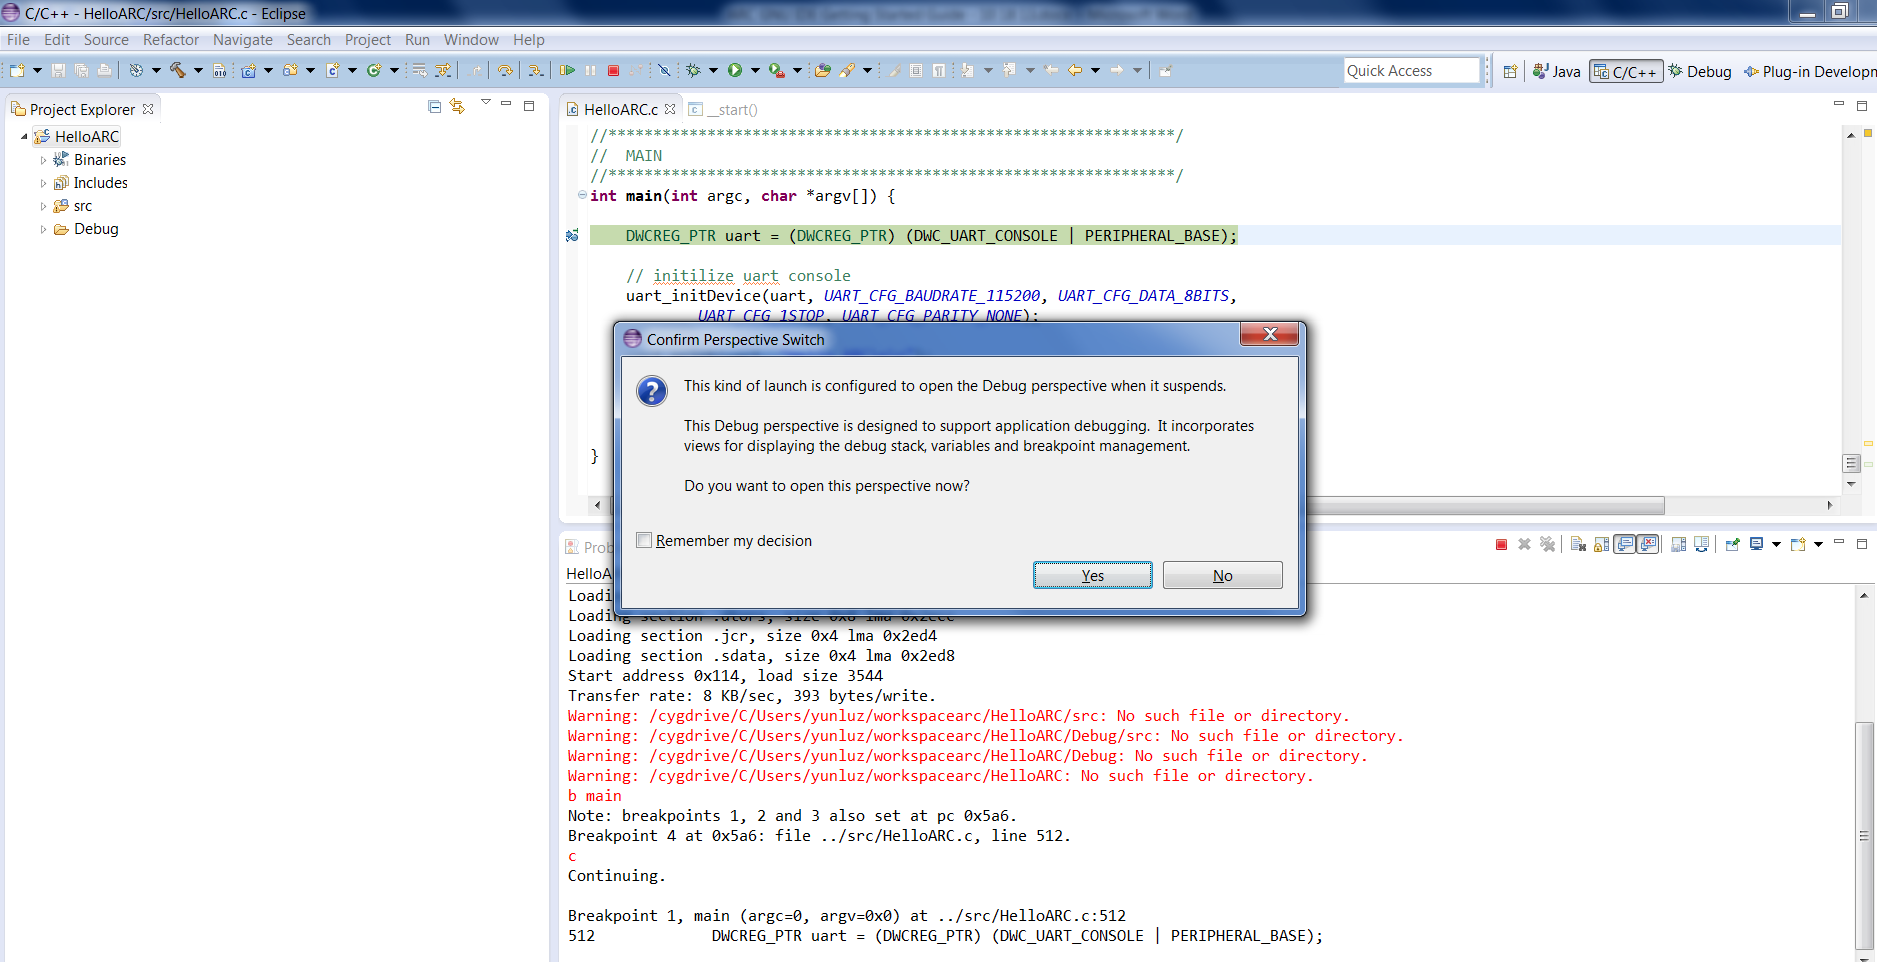
This action automatically launches the Serial terminal and OpenOCD applications in the background and connects to the UART on the EM Starter Kit board.
Click Yes in the confirmation dialog to switch to the Debug perspective
Perspective Switch
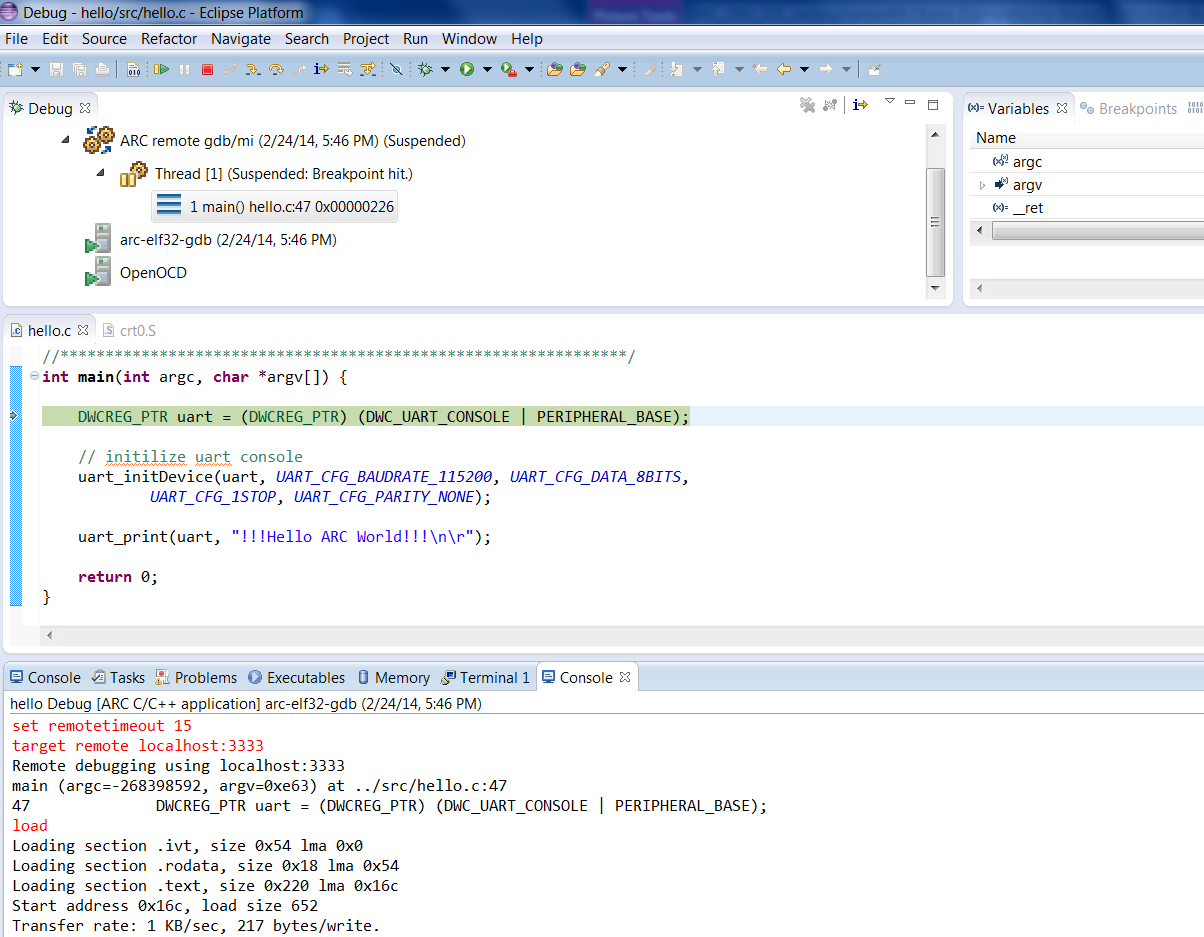
Debugging Process