Installation
Table of Contents
Using installer for Windows
Windows users are advised to use our Windows installer for Eclipse for GNU Toolchain for IDE, that can be downloaded from this releases page. Installer already contains all of the necessary components.
ARC GNU IDE should be installed in the path no longer than 50 characters and cannot contain white spaces.
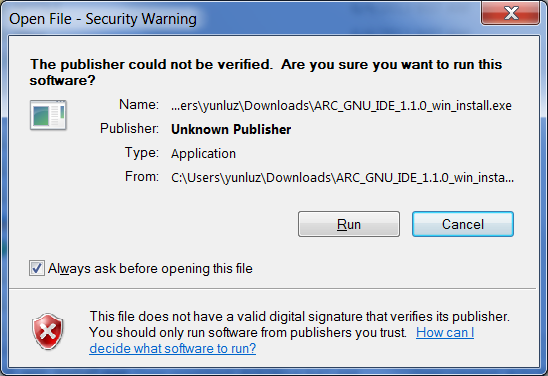
Run arc_gnu_2015.06_ide_win_install.exe
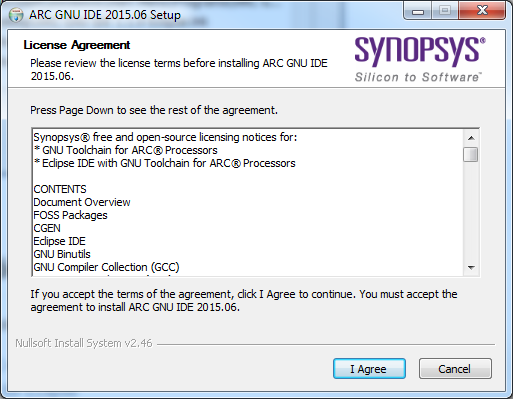
Accept Synopsys FOSS notice
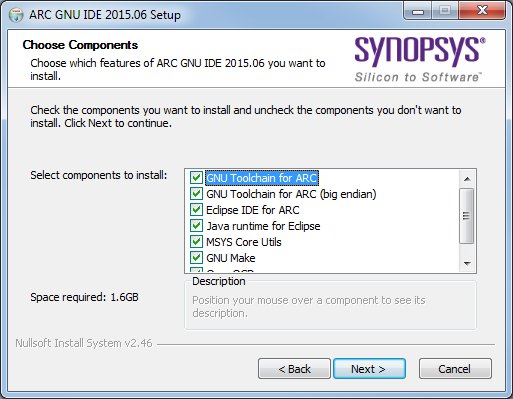
Choose components to be installed

Choose installer paths
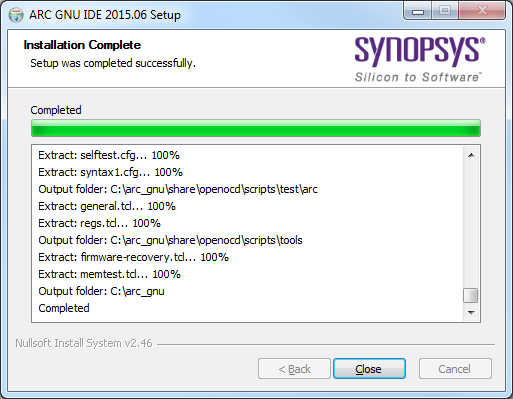
Installation Completed
Manual installation on Linux and Windows
Downloading Eclipse
Download Eclipse IDE for C/C++ Developers, that already contains CDT from this page
Downloading latest plugins
User can get this plug-in from website URL https://github.com/foss-for-synopsys-dwc-arc-processors/toolchain/releases/, this is an archived version of the GNU ARC Eclipse plug-in update site, the file name is arc_gnu_<version>_ide_plugins.zip
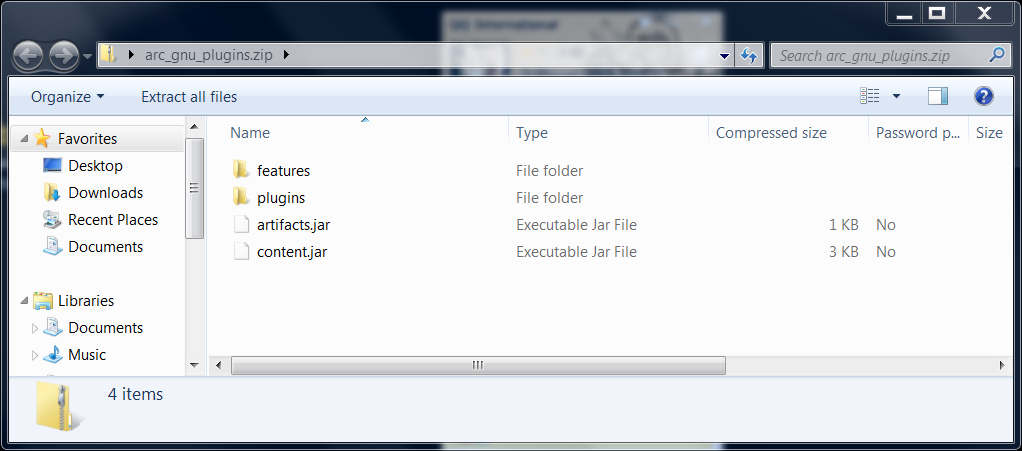
Components of arc_gnu_ide_plugins.zip
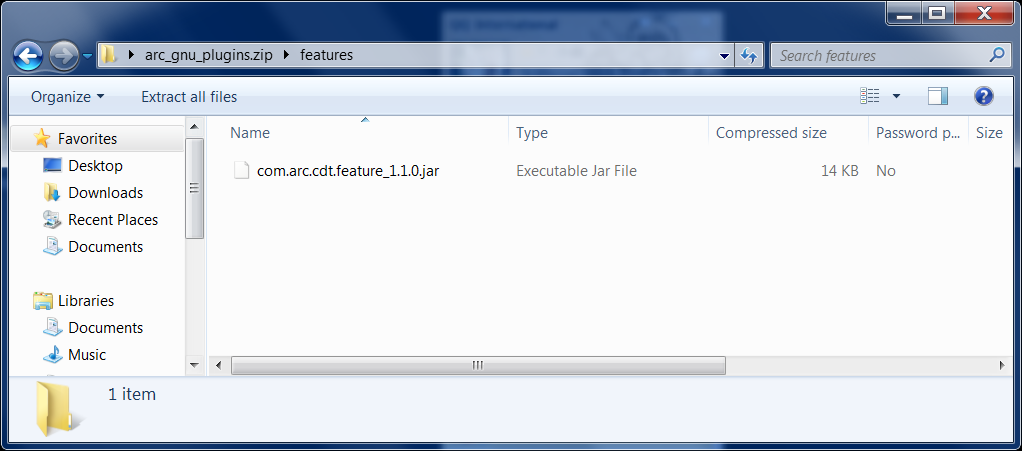
Components of arc_gnu_ide_plugins.zip features
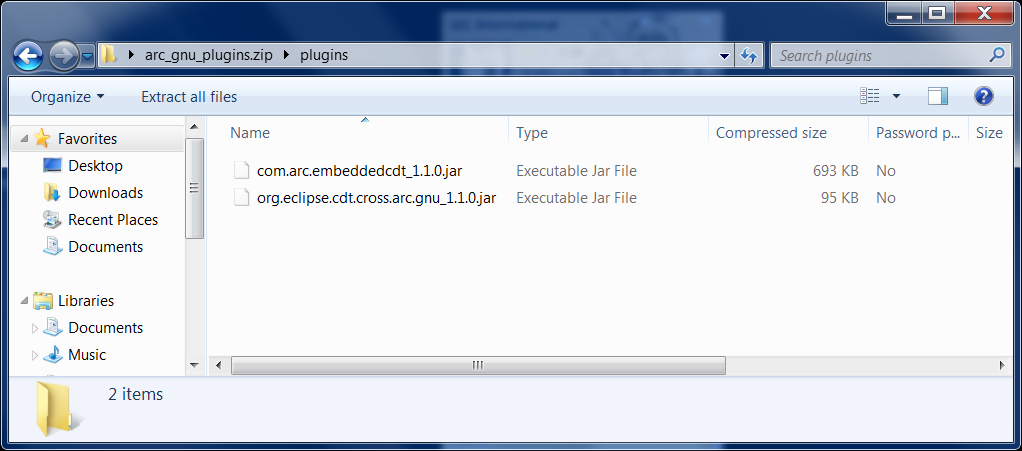
Components of arc_gnu_ide_plugins.zip plugins
Installing into Eclipse
To run ARC plugins for Eclipse, it is required to have Target Terminal plugin installed in Eclipse.
Install “TM Terminal” plugin from Oxygen repository.
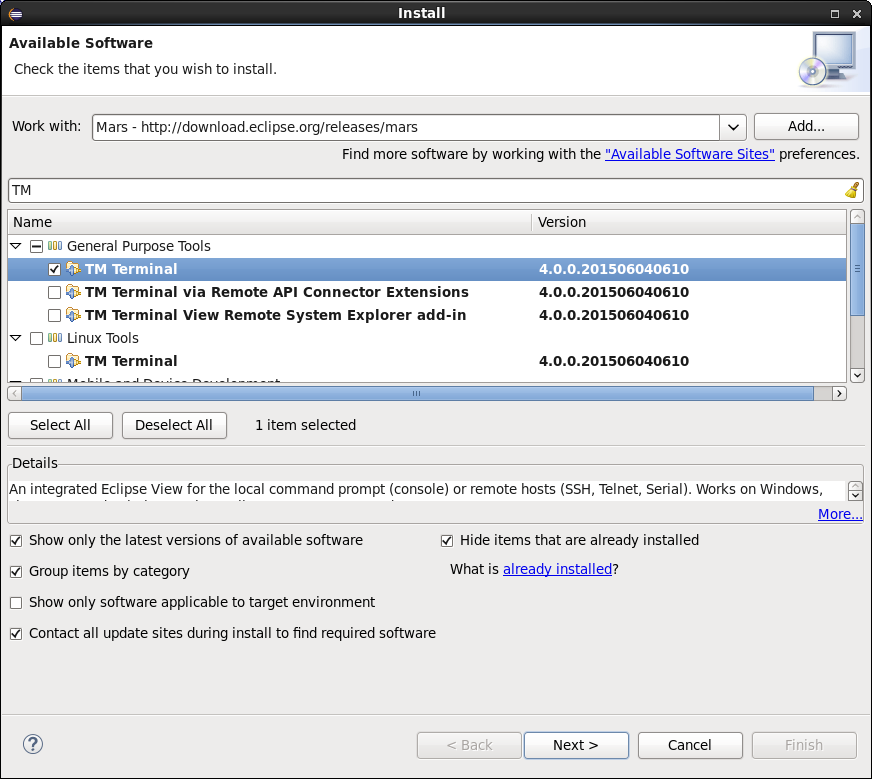
Installation of TM Terminal in Eclipse
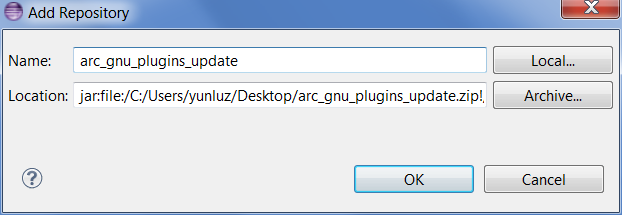
After downloading arc_gnu_ide_plugins.zip successfully, user also can install it
from local by pointing Eclipse to it: Eclipse -> Install New Software -> Add ->
Archive -> select arc_gnu_ide_plugins.zip file. Unzip this archived folder, there
will be six components in it.
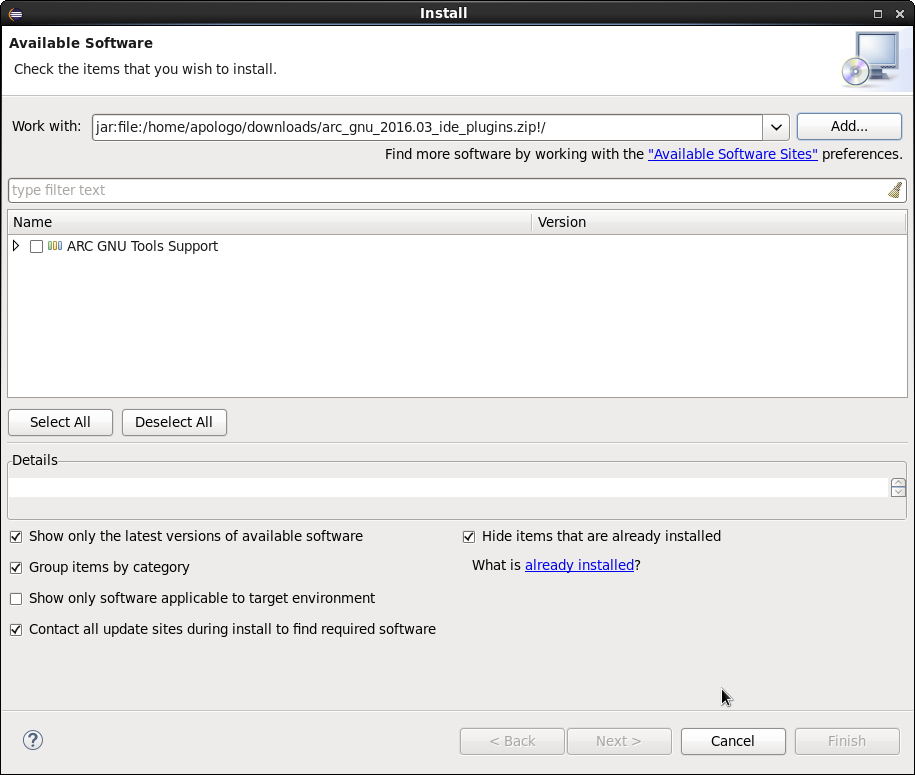
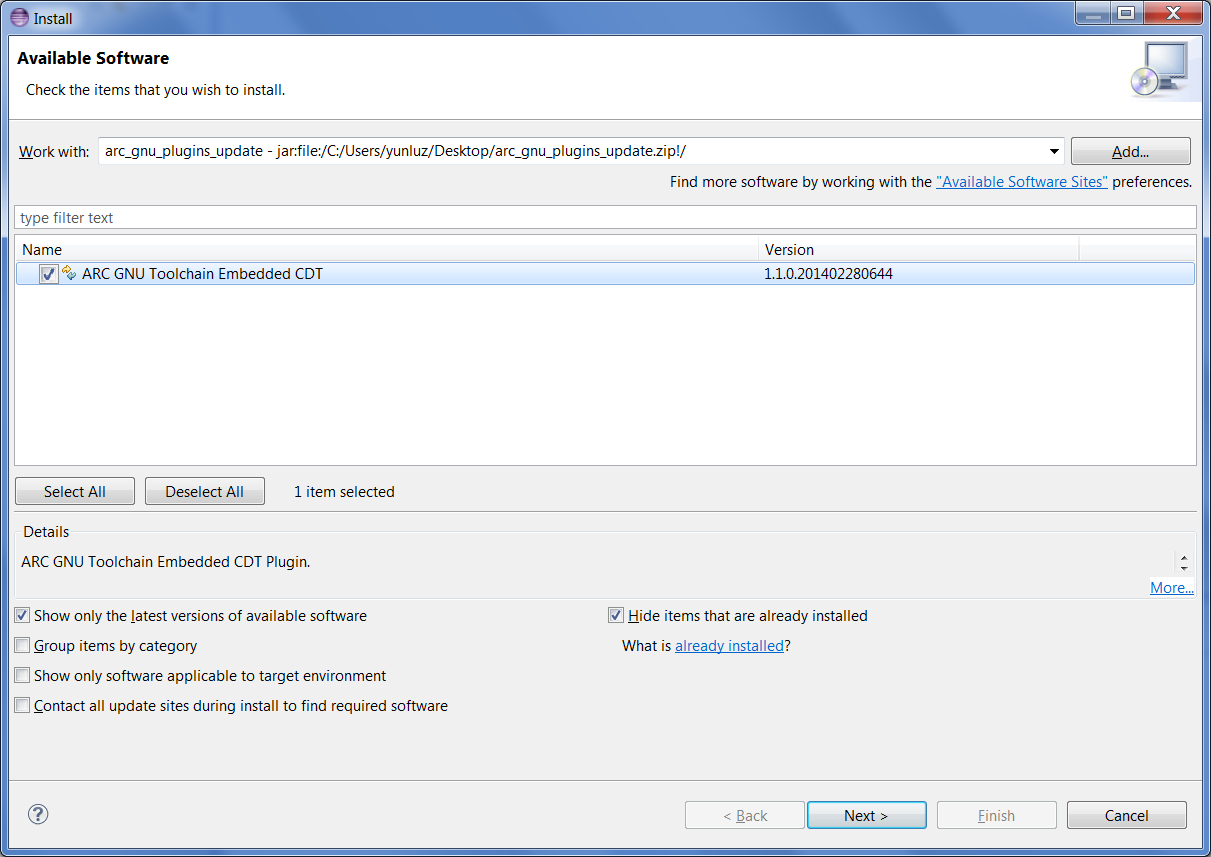
Install from local PC
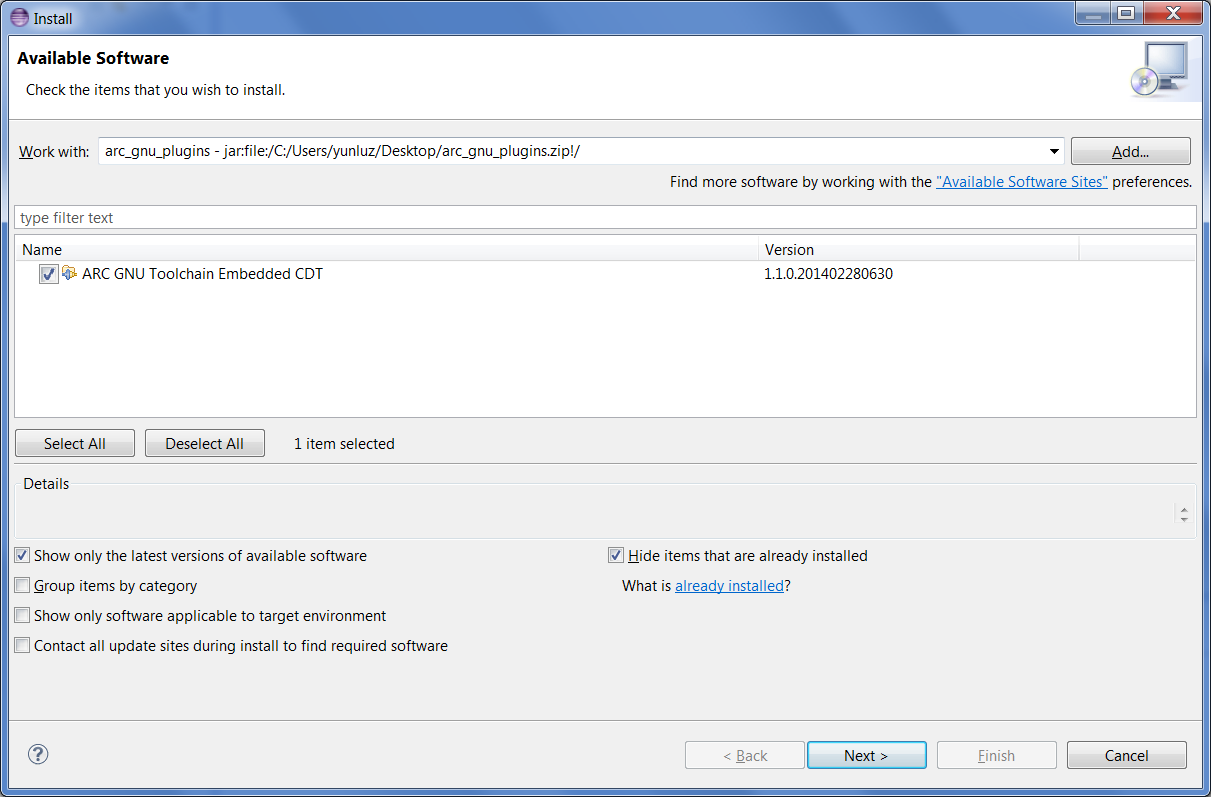
Check GNU ARC C++ Development Support
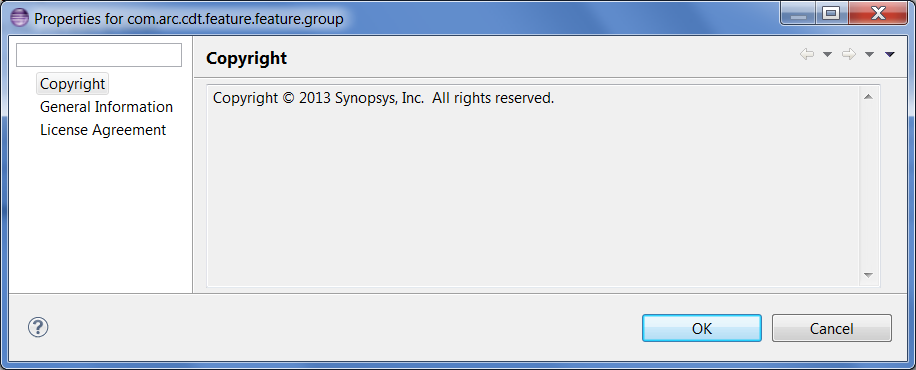
Get copyright by clicking “more”
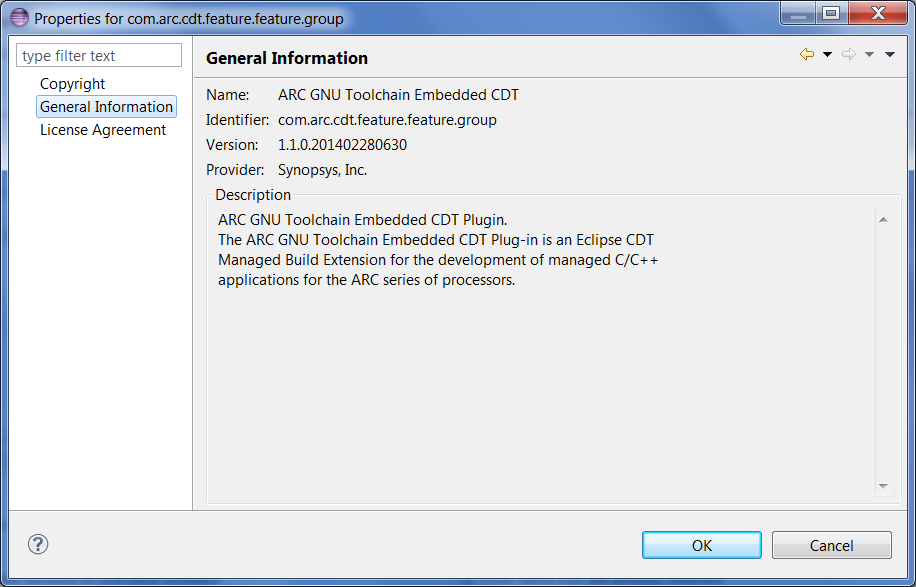
Get General Information by clicking “more”
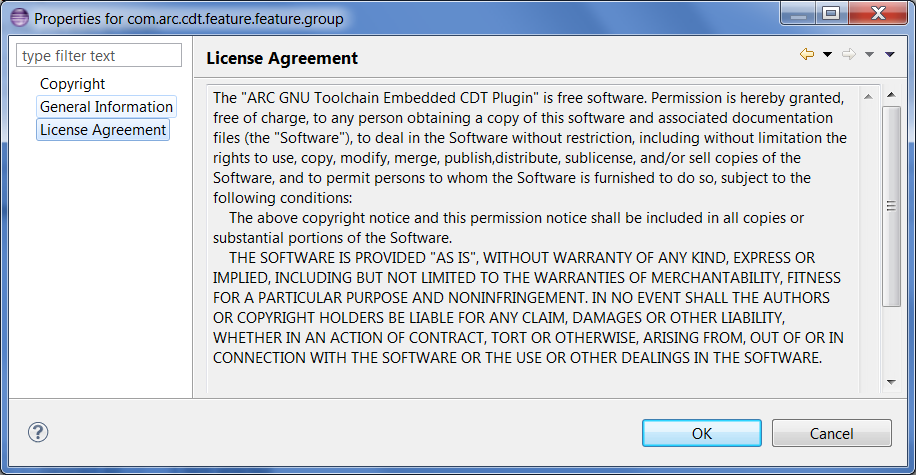
Get License Agreement by clicking “more”
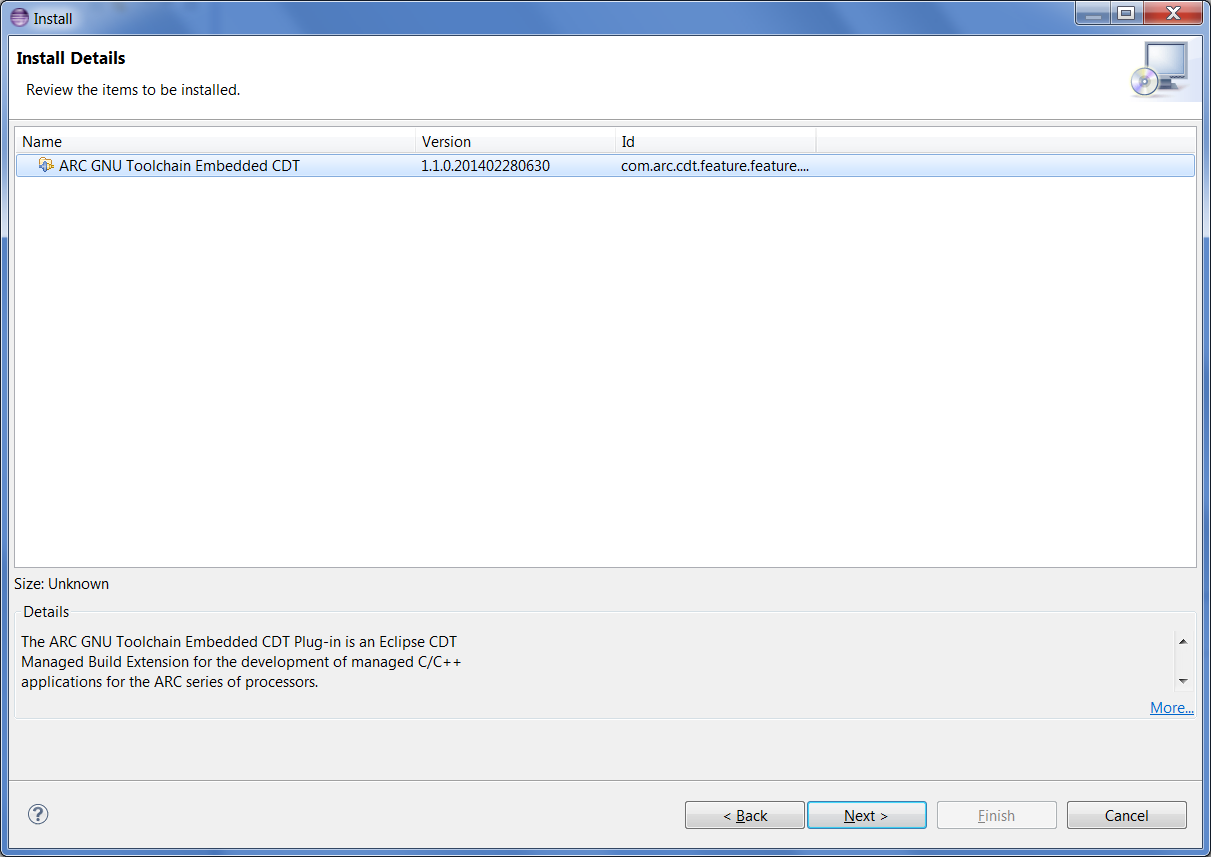
10 Install Details
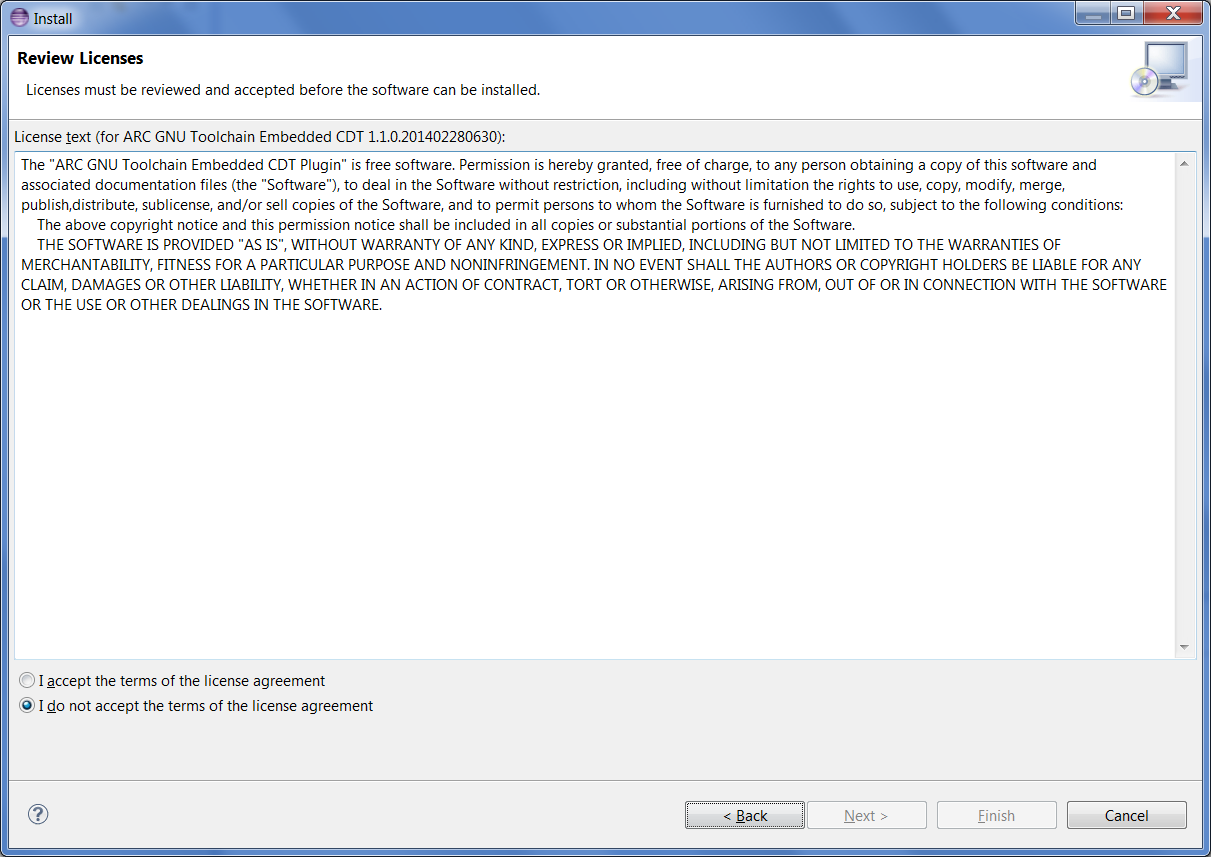
Accept the terms of license agreement
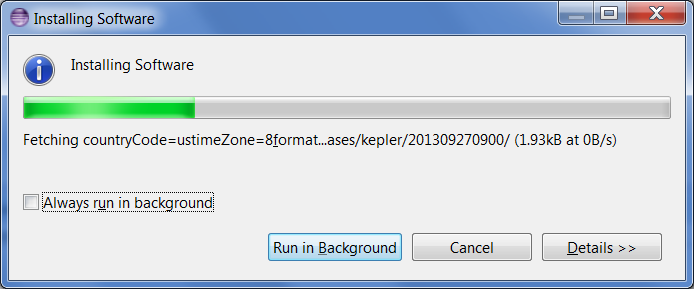
Install ARC GNU IDE Plugin
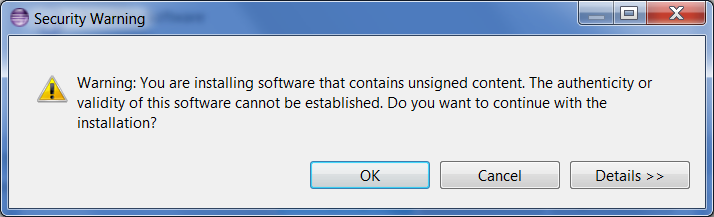
Warning about this plugins installation
Restarting Eclipse
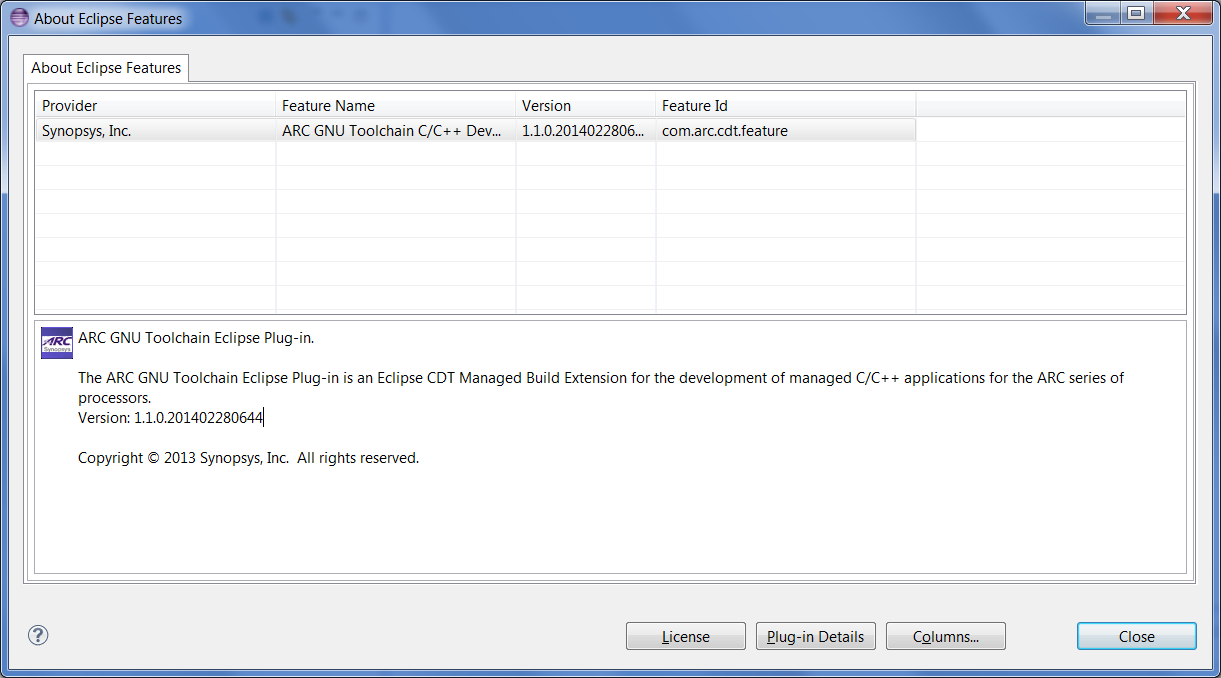
Ignore the Security Warning, and click “Ok”, after restarting Eclipse IDE, the installation is finished. If user install plug-in successfully, the “ARC” icon will show up in “About Eclipse”.
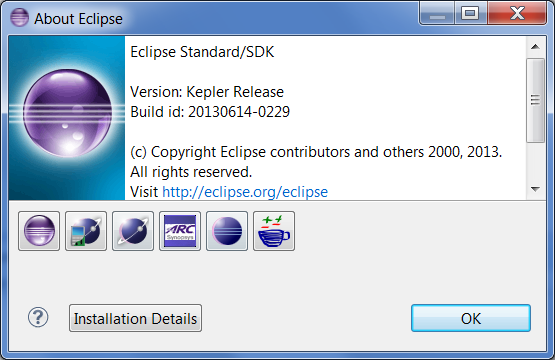
Plug-in in Eclipse IDE
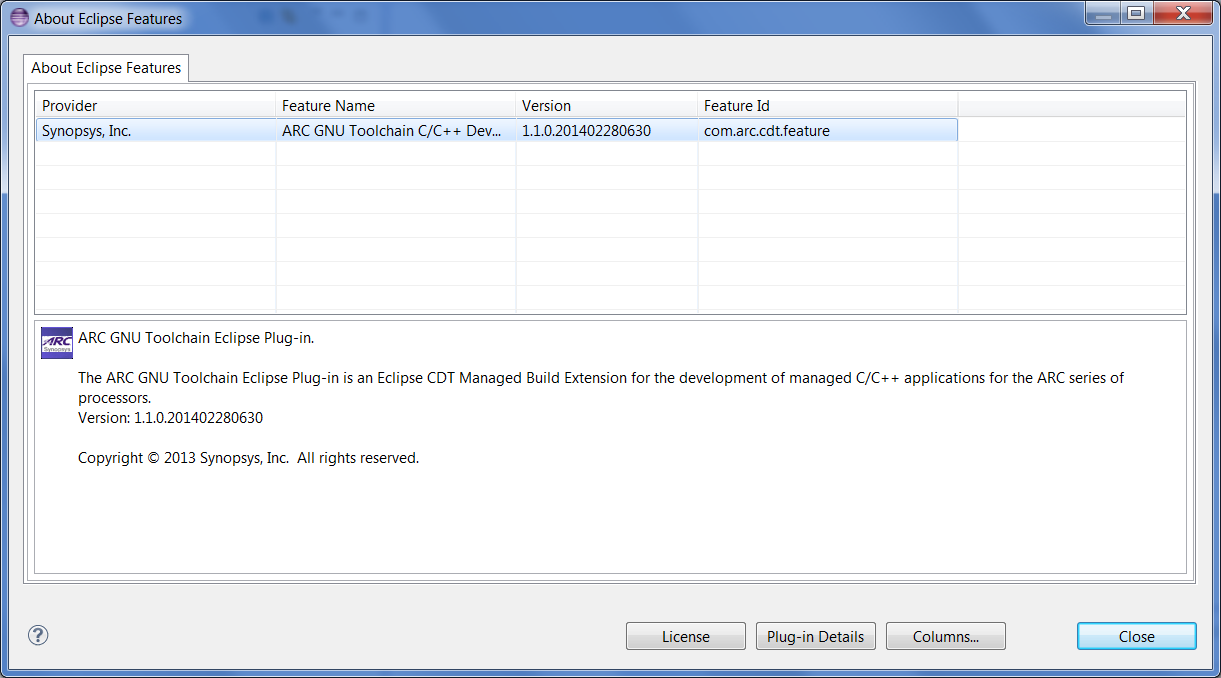
Click the “ARC” icon; user will get detailed plug-in features information.
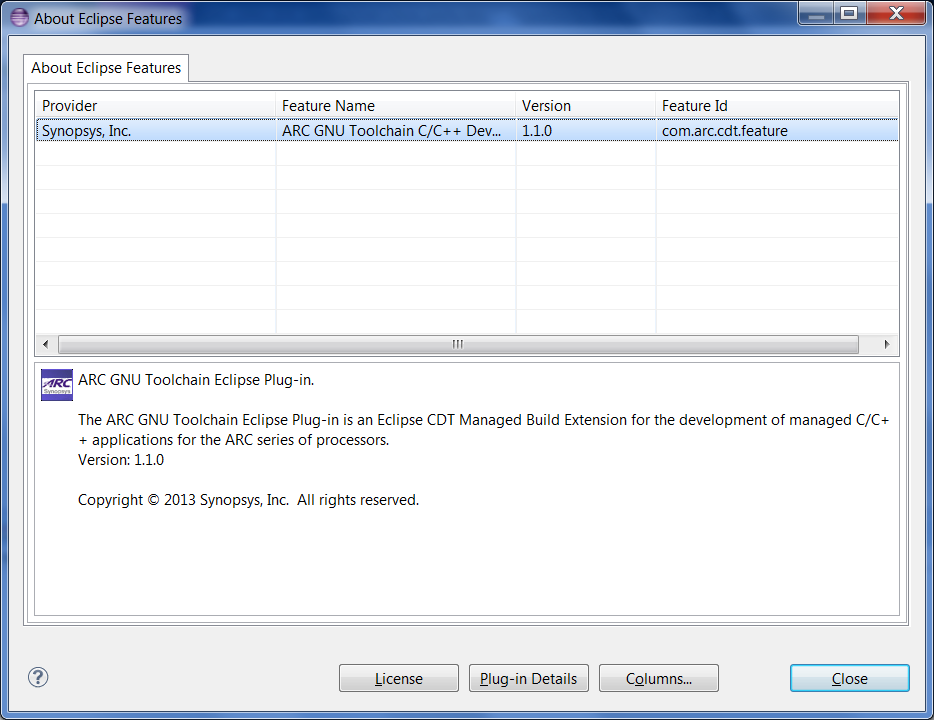
About Eclipse ELF32 Plug-in Features
Click the “Installation Details” button, the Features and Plug-ins will also show up.
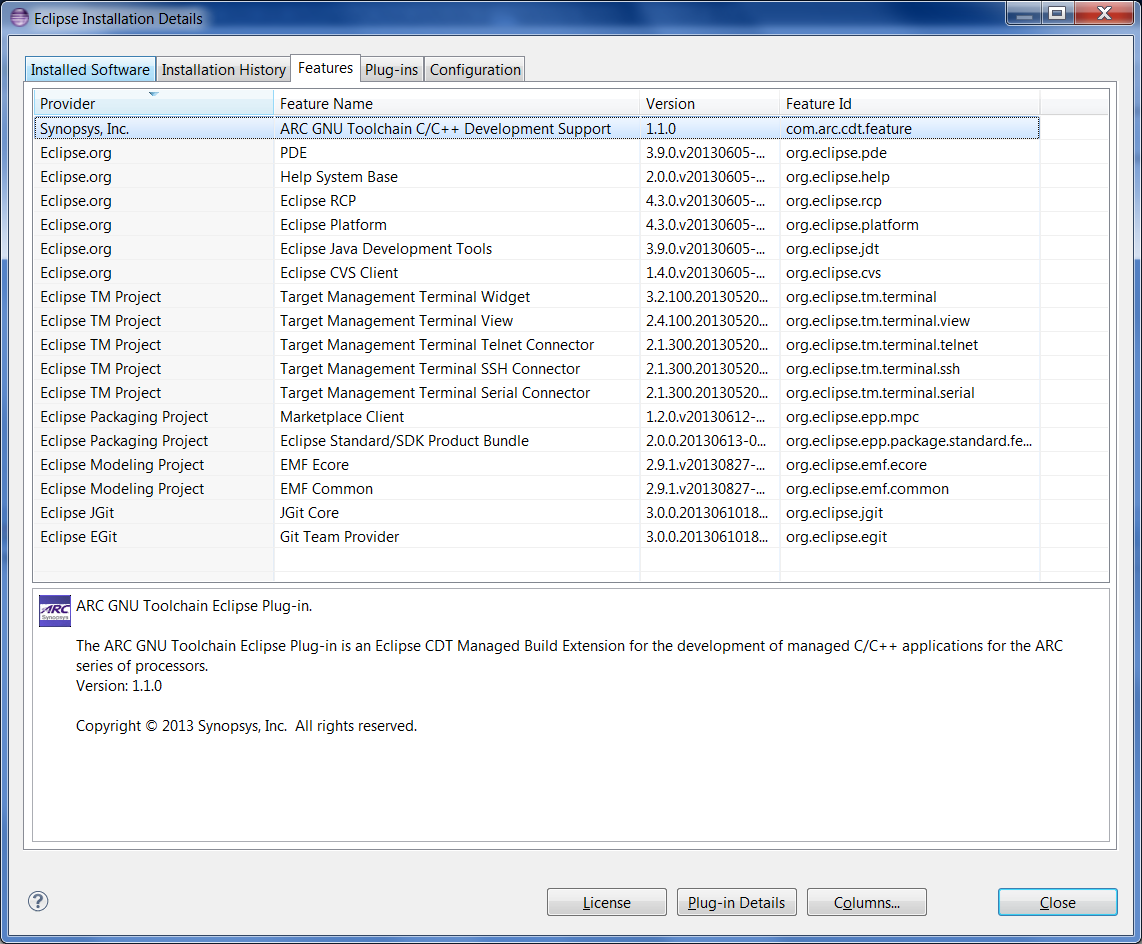
ARC GNU plugin Plug-ins

ARC GNU plugin Features
Updating existing plugin
To update the existing plugin, as shown in the figure below, and the version of this current plugin is for example “1.1.0.201402280630”, follow same instructions as plugin installation.
ARC GNU plugin Features
Current ARC GNU IDE plugin
Installation of latest plugin
Updated ARC GNU IDE plugin
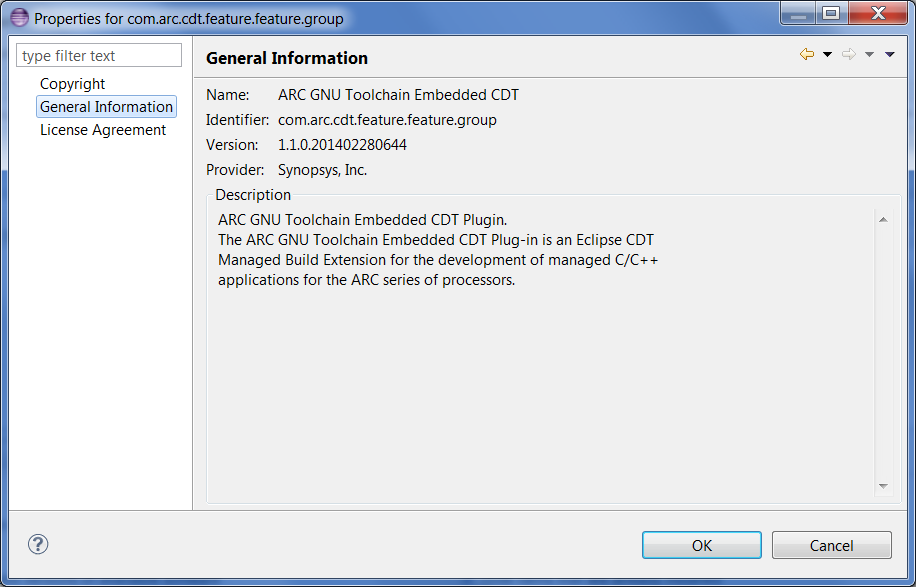
General Information of the latest plugin

Installed details of the latest plugin
Update exiting plugins successfully

Updated ARC GNU plugin Features

Updated ARC GNU plugin Plug-ins
Installing plugin on Linux host
If you plan to connect to UART port on target board with RxTx plugin controlled by IDE you need to change permissions of directory /var/lock in your system. Usually by default only users with root access are allowed to write into this directory, however RxTx tries to write file into this directory, so unless you are ready to run IDE with sudo, you need to allow write access to /var/lock directory for everyone. Note that if /var/lock is a symbolic link to another directory then you need to change permissions for this directory as well. For example to set required permissions on Fedora:
$ ls -l /var/lock
lrwxrwxrwx. 1 root root 11 Jun 27  2013 /var/lock -> ../run/lock
$ ls -ld /run/lock/
drwxr-xr-x. 8 root root 160 Mar 28 17:32 /run/lock/
$ sudo chmod go+w /run/lock
$ ls -ld /run/lock/
drwxrwxrwx. 8 root root 160 Mar 28 17:32 /run/lock/
If it is not possible or not desirable to change permissions for this directory then serial port connection must be disable in Eclipse debugger configuration window.
If it is required to connect to UART of a development system, then another
problem that might happen is permissions to open UART device. For example on
Ubuntu 14.04 only root and members of dialout group can use /dev/ttyUSB1
(typical UART port for boards based on FT2232 chip). Thus to use connect to
those port user must be made member of dialout group. Command to do this:
$ sudo usermod -a -G dialout `whoami`
If OpenOCD is used, then it is required to set up proper permissions for
devices to allow OpenOCD to connect to those devices. Create file
/etc/udev/rules.d/99-ftdi.rulesi with the following contents:
# allow users to claim the device
# Digilent HS1 and similar products
SUBSYSTEM=="usb", ATTRS{idVendor}=="0403", ATTRS{idProduct}=="6010", MODE="0664", GROUP="plugdev"
# Digilent HS2
SUBSYSTEM=="usb", ATTRS{idVendor}=="0403", ATTRS{idProduct}=="6014", MODE="0664", GROUP="plugdev"
Then add yourself to plugdev group:
$ sudo usermod -a -G plugdev `whoami`
Then restart udev and relogin to system, so changes will take effect.:
$ sudo udevadm control --reload-rules
# Disconnect JTAG cable from host, then connect again.
Even better is to reboot the system.